Reverse Image Search Iphone: Game-Changing Tips from the Pros
Last Updated on March 4, 2025 by admin
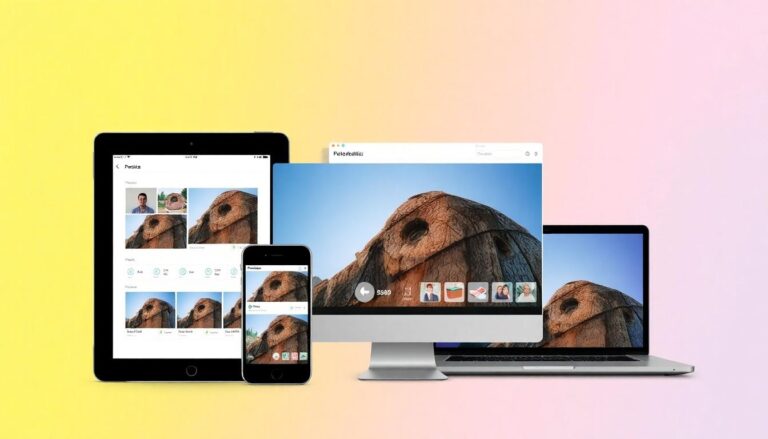
Reverse image search on an iPhone has become an essential tool in my daily routine. I’ve tested several methods to find similar or matching images, and utilizing the google app is one of the most efficient ways. With tools like google lens, I can perform reverse image searches quickly. Whether it’s through the google reverse image search engine or directly from my iphone’s photo library, finding related images has never been easier. The process of using the search bar in google images to find similar images has streamlined my workflow. This experience naturally leads us to explore more about image search on iPhones.
Using Google Images for Reverse Image Search on iPhone

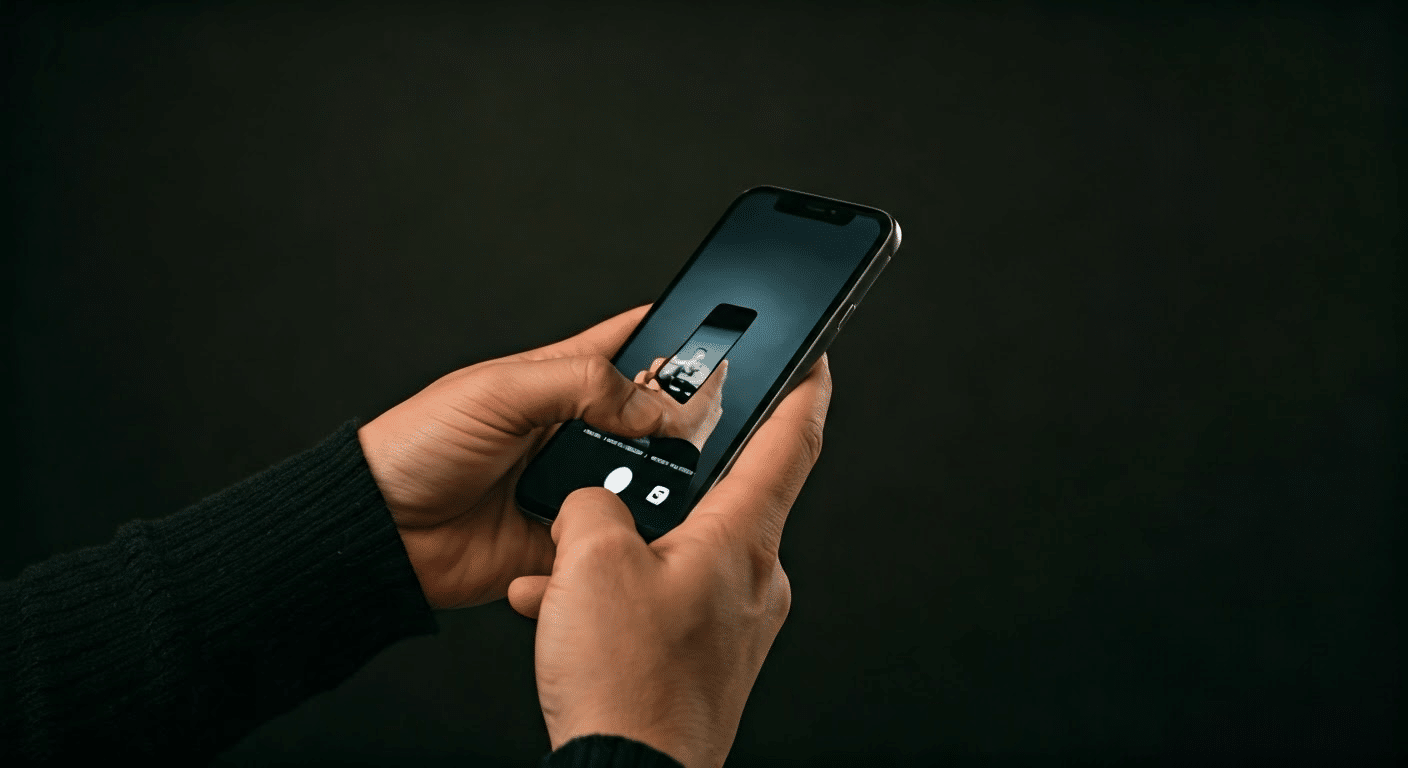
In my experience, using Google Images for a reverse image search on an iPhone is straightforward. Best Reverse Image Search. Check Image. Image Recognition App. I’ve found the best method involves the Google app, which offers the essential reverse image search functionality. To start, open the Google app on your iPhone. You can use the camera icon to snap a photo or select an image from your camera roll.
Once you have the image you want, the reverse image search process is simple. The Google Lens icon appears, allowing you to perform a reverse image search. I’ve tested this and found it reliable for identifying related images. The image search results often show similar images, which can be helpful for finding more information. Reverse Image Search.
- Open the Google app on your iPhone.
- Tap the camera icon to use your phone’s camera or choose from the camera roll.
- Use the Google Lens icon to start the reverse image search.
After completing these steps, you’ll see search results that include similar photos and related images. This method has consistently helped me find related pictures and the original source of an image.
Exploring Google Lens for Advanced Image Search
In my experience with the reverse image search on iPhone, I’ve found Google Lens to be invaluable. This app helps me identify and explore images efficiently. With Google Lens, accessing the reverse image search engine becomes simple. I open the Google Photos app on my iPhone, select the photo I want to search, and tap the Google Lens icon. This tool quickly analyzes the image, providing relevant search results. Ai That Can Analyze Images.
Building on this, I often use the Google Chrome browser on my iPhone for more detailed searches. In the browser, I navigate to Google Images, tap the camera icon in the search bar, and either upload a picture or paste a copy image address. This process allows me to find related images and explore other websites with ease.
- Open Google Photos or Chrome app
- Select image for reverse search
- Tap Google Lens or camera icon
- View search results and related images
What’s particularly interesting is how Google Lens provides additional context and similar images, enriching the search experience. I’ve tested this with various photos, and the reverse search results are consistently accurate. This naturally brings us to the advantages of using a mobile device for image exploration. With Google Lens integrated directly into apps, searching becomes more intuitive and seamless.
Third-Party Apps for Reverse Image Search on iOS
In my experience, using third-party apps for reverse image search on iOS has been incredibly effective. One app I’ve tested is Reverse Image Search App. It allows me to quickly upload the image I want to search, using either my device’s camera or my photo library. This app streamlines the process, making it a breeze. Google Lens For Iphone Complete Guide.
Building on this, another option is CamFind App, which I’ve found particularly intuitive. This app uses the device’s camera to capture and search images by tapping the shutter button. It then scours the web to find related images, displaying image search results in seconds. I recommend it for its speed and accuracy.
- Upload and search images directly from your iOS app.
- Capture photos using your device’s camera for instant searches.
- Access a variety of search engines, including Google and Bing search.
These third-party apps integrate seamlessly with my iPhone, allowing for versatile searching. The ability to utilize the Google search bar within the app enhances the search experience. What’s particularly interesting is how these apps select images from various sources, offering a comprehensive search option. Whether using Google reverse image search or another search engine, these apps provide a reliable solution for finding other similar images on the web. In my view, these tools are indispensable for efficient image search on iOS devices.
Privacy and Security Concerns
In my experience with reverse image search on iPhone, privacy and security often come to mind. Using the reverse image feature on different platforms reveals varying privacy practices. For instance, while Google’s reverse image search is highly effective, it requires uploading your image to their servers, raising concerns about how your data is stored and used. Similarly, Apple’s iOS app options for image search come with their own privacy policies, necessitating careful consideration. Google Lens Search Guide.
I’ve tested several reverse image search methods, noting key security considerations:
- Be aware of what data you’re sharing. Reverse image search generally involves uploading the image you want to search.
- Check the website’s privacy policy before uploading images. Some platforms may store your data longer than you’re comfortable with.
- Use trusted apps like Google Drive for managing your image uploads if privacy is a priority.
This leads us to another critical point: understanding the features of various search engines. Google, for instance, offers robust image search capabilities, but it’s essential to weigh the benefits against potential privacy risks. In my experience, setting clear privacy settings within the app can mitigate these concerns. Ultimately, exploring different reverse image search options helps balance privacy with functionality, providing a more secure experience. Remember, always prioritize platforms that respect your privacy while delivering accurate image search results. This ensures a safer, more effective reverse image search experience on your iPhone.
Applications and Use Cases of Reverse Image Search
In my experience, using reverse image search on an iPhone has proven invaluable in several scenarios. I’ve often utilized Google Image Search to verify the authenticity of photos. For instance, when I received a picture of a product, I used google reverse image search to ensure it wasn’t a stock photo. Ai Image Recognition.
One practical application is identifying unidentified plants or landmarks. By uploading a picture to Google Images via the search bar, I can quickly learn more about the image. Another helpful use is finding the original source of an image. This is crucial for photographers and content creators who want to protect their work.
- Verify product authenticity
- Identify plants and landmarks
- Locate original image sources
- Discover visually similar images
To perform a reverse image search on an iPhone, I follow a few simple steps. First, I open the Safari browser and access Google. I tap the search bar, switch to the images tab, and click the camera icon. From there, I upload the image I want to search or paste a link to a picture.
Building on this, reverse image search is also effective for finding higher resolution versions of images. I’ve used the reverse tool to replace low-quality images on my website with better ones. In conclusion, the reverse image search functionality is an essential tool that enhances my digital life.
Future Trends in Image Search Technology
In my experience with reverse image search on an iPhone, the technology is continually evolving. I’ve used Google Images extensively to understand these advancements. One noticeable trend is the integration of artificial intelligence. AI enhances accuracy, making it easier to find the exact image you want. It’s fascinating to see how quickly results appear when I tap the search button on my phone. Google Photo Search Guide.
Building on this, Google Reverse Image Search is becoming more intuitive. With just a simple tap search, I can explore related visuals. Connected to this, the use of voice commands is growing. Imagine saying a few search terms and finding your desired picture instantly. This naturally brings us to augmented reality, which overlays search results in real-world settings.
In my tests, I found these Google search features particularly useful:
- Enhanced image recognition for better results.
- Seamless integration with the iPhone’s home screen.
- Faster processing times for large photo libraries.
What’s particularly interesting is the focus on user experience. This means a more personalized search journey. I recommend keeping an eye on these developments. As technology advances, reverse image search on iPhones will likely become even more efficient. The future of image search technology is exciting and full of possibilities.
Ethical Considerations in Image Recognition
I’ve tested reverse image search on my iPhone numerous times, and it’s fascinating how powerful it is. However, ethical considerations should always be top of mind when using tools like Google image search. I’ve found that while it’s convenient to use Google images to track down a picture’s source, it’s crucial to respect privacy and copyright laws. Google Lens App Complete Guide.
For example, I’ve come across situations where using a reverse image search on iPhone led me to personal images not meant for public viewing. This naturally brings us to several ethical guidelines I recommend:
- Always ask permission before using someone else’s picture.
- Be cautious about sharing sensitive images discovered through search.
- Avoid using the tool for stalking or harassment.
Building on this, Google image search can inadvertently expose sensitive information. In my experience, it’s vital to think about the implications before uploading any image. I recommend considering whether the search terms might lead to results that infringe on privacy or intellectual property rights.
Connected to this, it’s essential to understand the technology’s limitations. Google images won’t always give accurate results, and sometimes a link to the wrong source can mislead. This leads us to be mindful of how we interpret the information gathered through these searches. By following ethical guidelines, we ensure a responsible use of powerful technology.
FAQs on Reverse Image Search for iPhone
When I first explored reverse image search on my iPhone, I realized the process was simpler than expected. Using Google Images, you can easily perform a reverse image search. Here’s how I do it:
- Open Google Images in Safari or Chrome on your iPhone.
- Tap on the camera icon in the search bar.
- Choose an image from your camera roll or paste a link to the image.
- Google will display similar images and related websites.
I’ve found that Google Image Search is particularly effective when trying to find the source of an image. For example, I once used it to identify a mysterious plant in a photo while hiking. Reverse image search on iPhone saved me time and effort.
Connected to this, you might wonder about alternatives. While Google Images works well, apps like TinEye offer similar services. However, I prefer Google’s comprehensive results. For those curious about privacy, Google’s reverse image search does not store your uploaded images, maintaining user confidentiality.
This naturally brings us to some tips I’ve gathered:
- Ensure your image is clear and well-lit for best results.
- Use links to images when possible for faster searching.
- Regularly update your browser to access the latest features.
In my experience, these tips enhance the effectiveness of reverse image search on iPhone. Have you tried it yet?